
Also known as the front bust shaping darts in my wool jacket muslin. They took 6 steps to finish! Crazy. Here’s how they started.
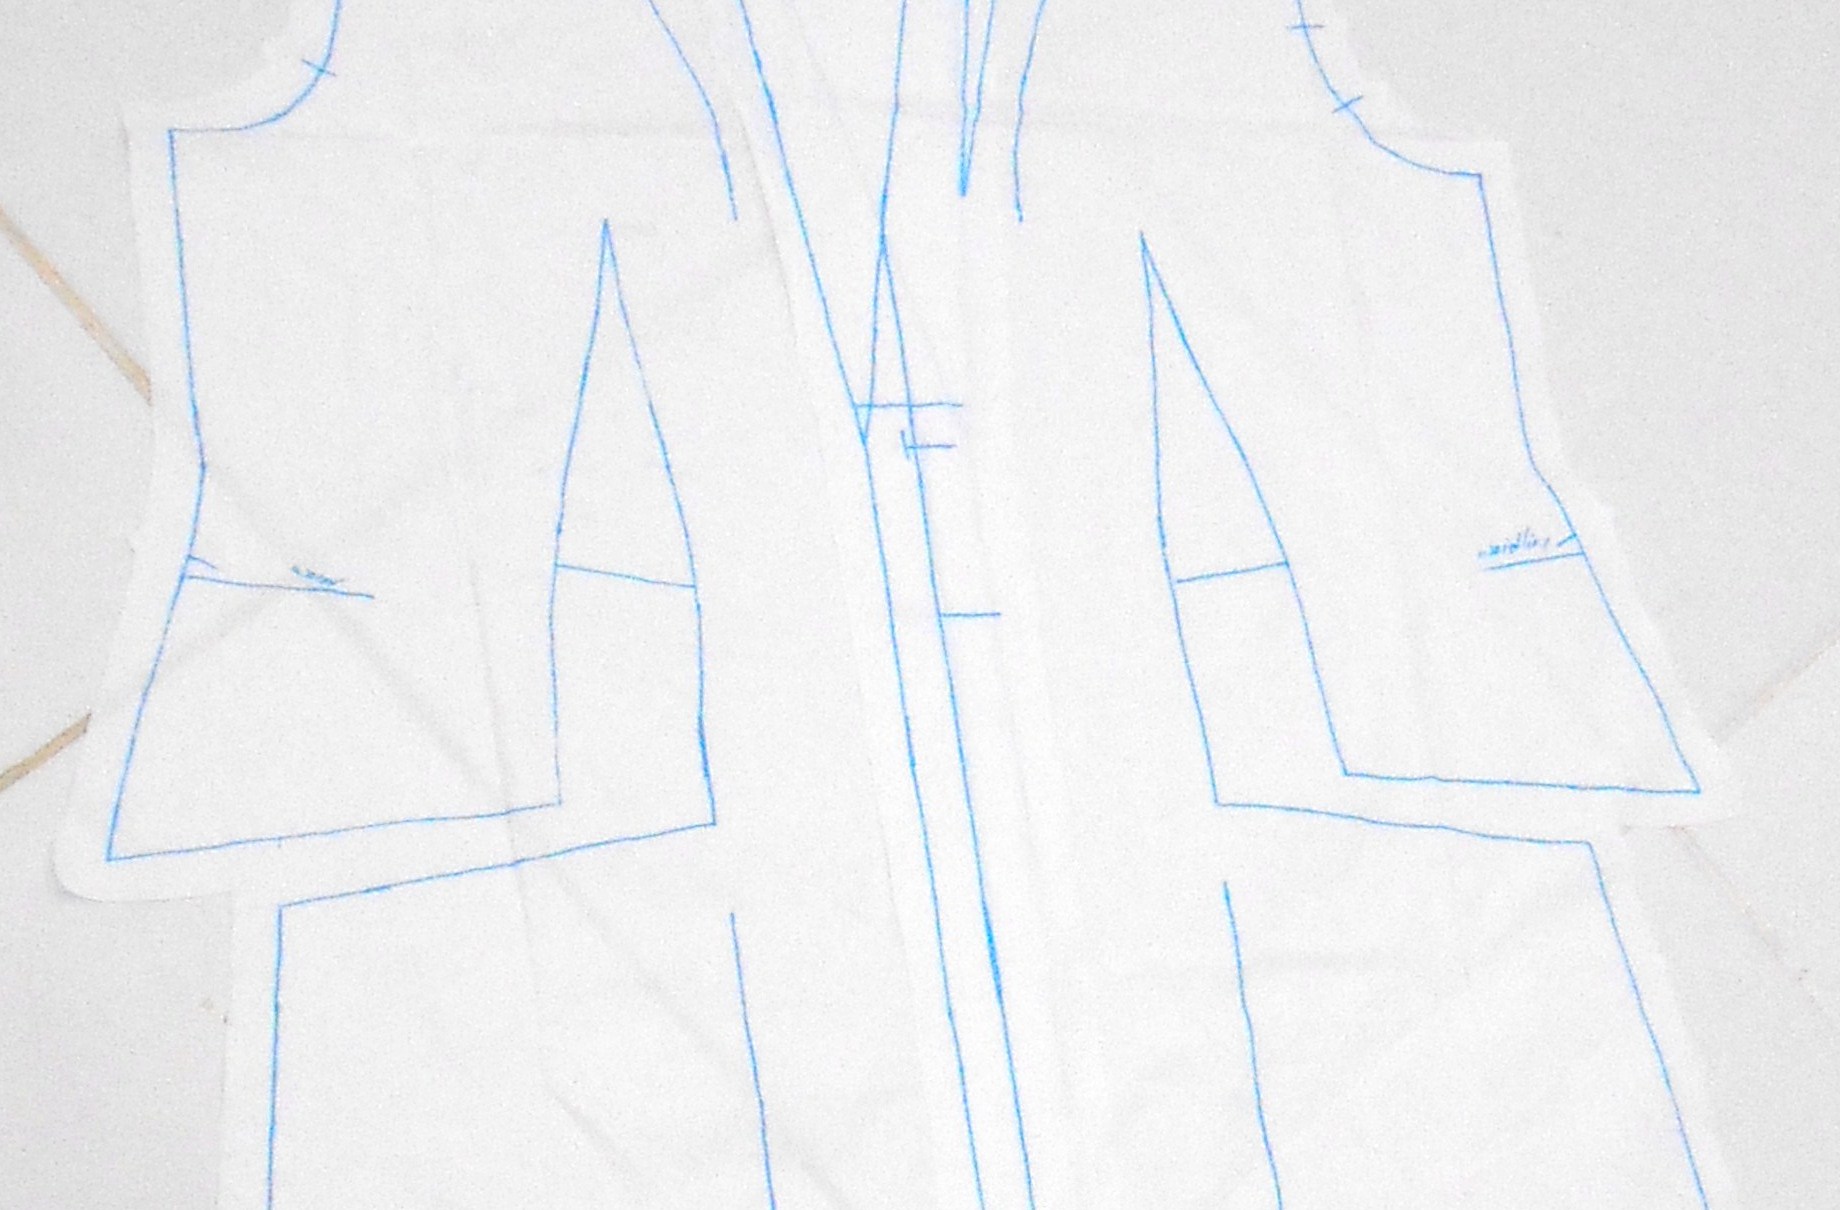
Burda’s directions left me scratching my head, so I had to muddle through hands on. I took pictures of the second one just to show you. Luckily all my mistakes in the first one were fixable, so I didn’t have to cut another muslin front. First I had to cut between the horizontal lines.
 Second, stitch the vertical portion of the dart, which I did in two passes (the second time). First I started at the center and stitched up to the point. Then stitched from the center down to get the bottom point accurately.

Third, cut away seam allowances and press.

Finally, stitch the horizontal seam of the dart. Clip into the angle and press open.

And that’s how you make a dart with a 90 degree turn in it! Here they are all basted up.

Now imagine doing all the with these Burda instructions:
“Cut the fronts along the center between the marked horizontal edges, up to 1 cm before the front dart line. Stitch the bust darts. Clip the seam allowance diagonally into the corner at bottom end of dart. Trim dart allowances to 1 cm wide and press open, pressing points of darts flat. Then stitch horizontal edges of fronts together, right sides facing. Press seam allowances open.” from BurdaStyle English directions online.
Personally, I am a hands on learner and the block of text I found confusing until I broke it down and did it myself on the toile. I know we are all supposed to read through the entire pattern to understand everything before we start, but when its complicated, I don’t find that very helpful. Either way, this was a fun challenge and I’m glad I did it, though this could explain why this lovely jacket has so few downloads and no reviews that I could find online.

I have darts like that in a shift dress on my sewing list. Yay, I’m not having to figure out the instructions. Thanks for sharing this 🙂 Although the retro simplicity ones might be passably better than burda’s.