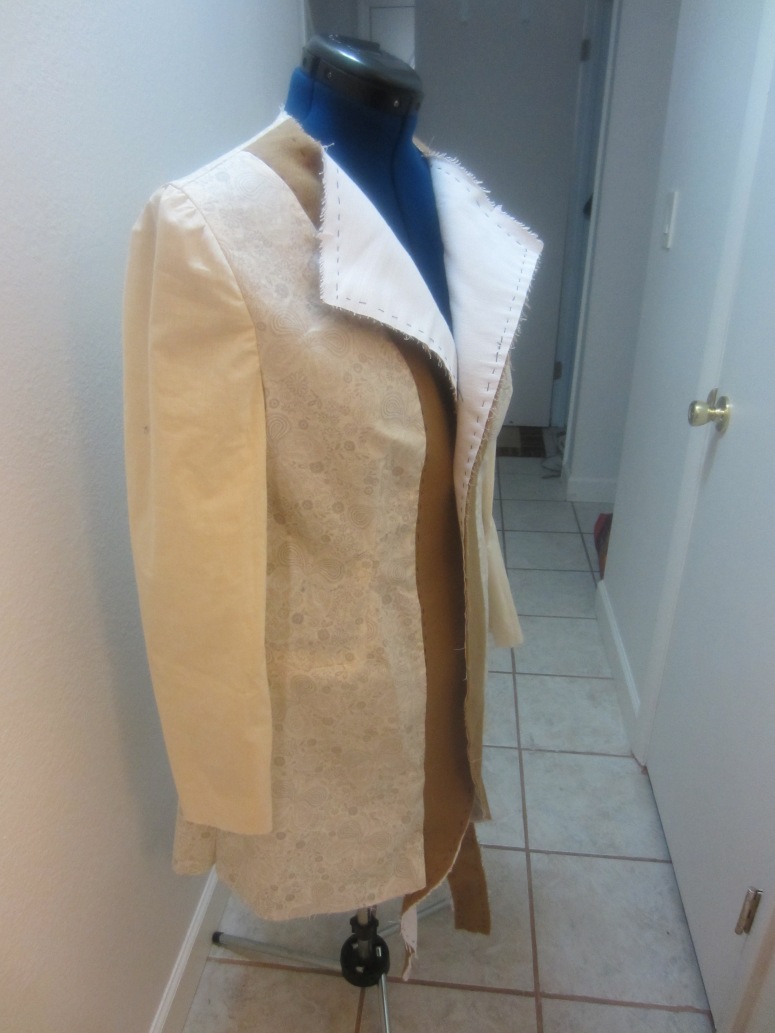
Remember how my wool jacket had no lining in Brazil? Well, I finally chose one! I did some research because I didn’t want the slippery traditional lining when dealing with the L darts and whatnot. According to Vogue Sewing, cotton is also anti-static. I found this cute cream quilting cotton with a pretty pastel grey butterfly/floral print and bought the end of the bolt. Of course, it wasn’t enough, so I used unbleached cotton muslin for the upper sleeves where no one will really notice that the pretty print isn’t everywhere inside. I think it adds a nice touch. The dangle-y bits are the curved hem facings.
Here are some other tidbits I learned along the way:
Jacket with lining back pleat:
 This jacket had a 1/2″ deep CB pleat in the lining. This is a jacket I purchased a few years ago and the lining is holding up.
Jacket without lining back pleat:
 I have owned this jacket a few years as well. The CB lining seam is definitely not holding up. Clearly, for the longevity of the jacket, CB lining pleat is necessary. Here is mine, slightly deeper than the first jacket, but I wanted to make sure it would hold up for years! I put too much time and effort into this jacket for it to wear out!
 Here’s a detail shot of the lining facing inserted into the shoulder seam:
 Another tip: when Burda’s directions indicate that you need to cut away the front portion of the pattern to make the front lining pattern, you must cut on the line and ADD the seam allowance. I just cut along the line and cut out the lining. Eek!
 Here’s how I fixed it so I didn’t have to recut (which I didn’t have enough lining fabric to do). I used 5/8 in. seam allowances, so I stitched the lapel facing to the front lining piece at 3/8 in. This adds 4/8 in. back into that area and just shifts the seam slightly. Then for the final 1/8 in., I staggered the side seams (where the seam allowances were already included as it was the jacket pattern piece too), so the front piece’s edge was 1/8 in. inside the raw edge of the back piece. If you just stitch the seam allowances narrower at the side seam too, you’d end up making the back lining pieces about 1/8 in. bigger each or 1/4 in. bigger than the outer shell.
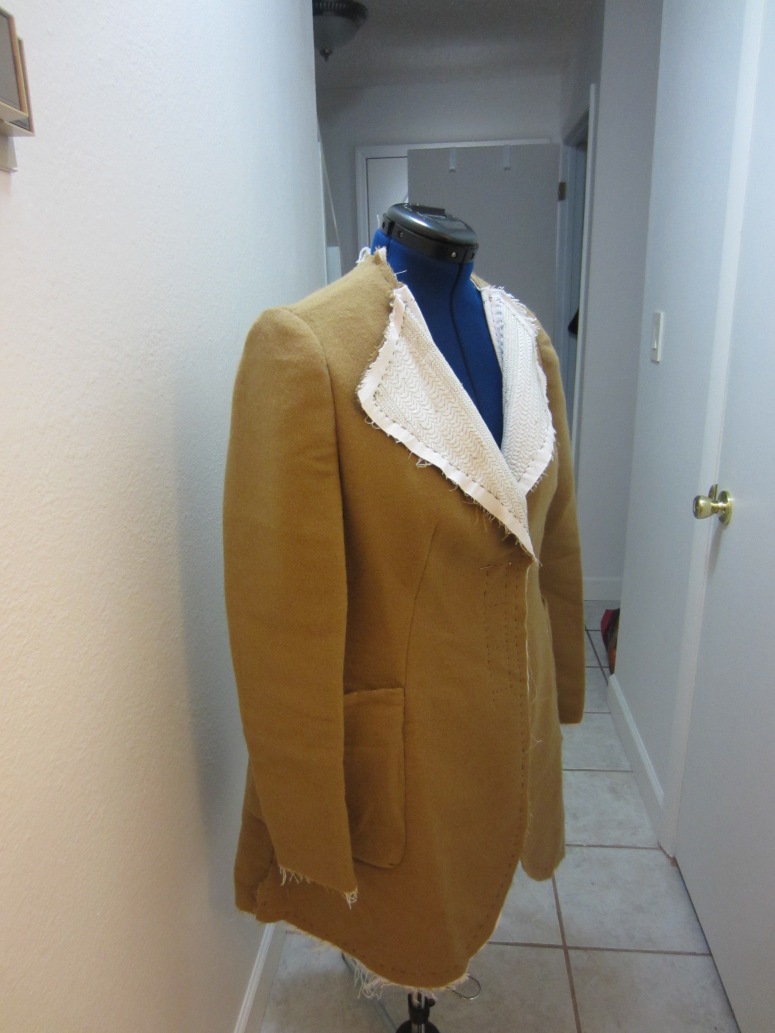
 Then, while I had everything out, I went ahead and stitched the sleeves to the jacket body. I had been procrastinating on this because I had such a hard time with the muslin sleeve insertion. Then, when I did the lining, I made a mistake early on, but caught it quickly. So while it was fresh in my head, I ran through the sleeves on the jacket. Other than trouble gathering up the stiff interlining, the sleeves went in easily. I am so happy about that, because I was imaging all sorts of trouble. Clearly, practicing on the muslin first, then the lining, then the jacket, was the correct course of action because the fashion fabric had no unpicking!
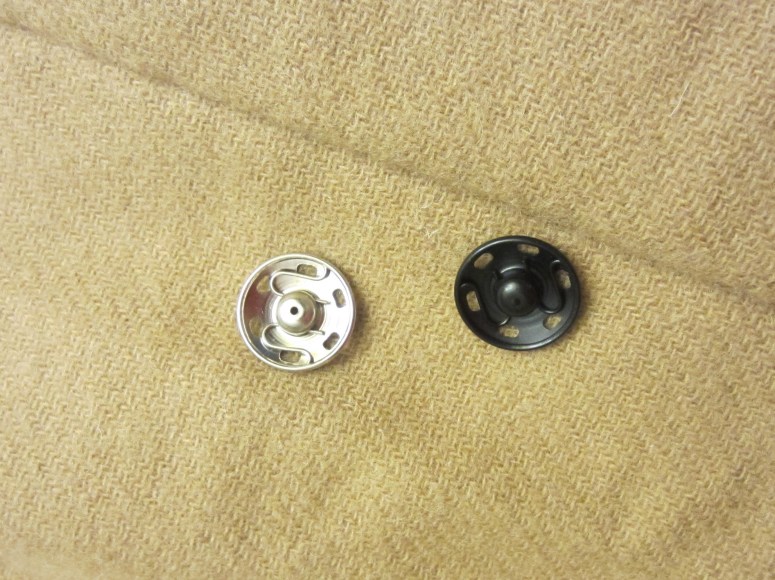
 Smooth as a baby’s behind! Next up is lining insertion, pad stitching the upper collar and back collar, then attaching the final collar pieces. Then it is time for hems, hem facing, and closures. I need some help deciding between these two snaps:
 I will probably wear it closed 90% of the time, because if it is cold enough for this jacket, it needs to be closed. However, I am having trouble deciding between shiny silver or black-brass snaps. Thoughts?


Why not cover the half of the snap (with lining fabric to match the wool) that shows or use nail polish? It look so good so far!
I’m not sure I understand entirely what you mean…covering the snaps to hide them? How would they snap if there’s fabric in the way? I will look in my Vogue Sewing book later. I will ponder this as it is a new technique I should learn =)
Oh, it’s coming along very nicely! I lurv that camel colour…
me too! I want to find the same color in lighter weight fabrics for other seasons. It is a great neutral on me!
Lovely material! Is there a picture of it finished yet?
Not yet as I am still padstiching. I am using all the courture hand stich tailoring so it is taking a bit. I hope to finish it by March.
almost…the lining is in, but the *** collar and I are not agreeing how things should work. I think easy, it thinks impossible. Hopefully a truce will be called soon and my jacket will be hemmed and done!